The Hiatus is OVER!
Why was it so long and not talked of?
Summer was exhausting.
Being the craft lady of a summer camp for children was absolutely wonderful, but very tiring and time consuming. Not to mention, the internet connection was extremely slow at the camp I worked at.
"But what about all the crafts you did there? Will I ever see them?" you may ask. The answer is "Yes!" but not for awhile. Slowly and surely, during weeks of midterms and finals and no cooking or DIY projects. In place, I'll put up some adorable pictures of children making things and write a little blurby on how to do what that talented, dapper 7 year old is doing.
In case you were wondering what else has happened after summer camp, this is it:
-Immediately after camp, move back to Santa Cruz into an apartment with 2 girls I barely know in order to become close friends with them, take biostats + lab, and eat ice cream from the Penny Ice Creamery every Sunday night.
-Move back home to hang out with family and realize I have to go back to Santa Cruz a week early for job training.
-Move back to Santa Cruz in an apartment on campus and live alone for a week unpacking, playing ukulele, and, of course, working.
-Help BFFs move in and rejoice that I don't have to be alone anymore!
-School, work, crazy a'cappella stuff, school, work, cleaning, midnight Pulp Fiction at the Del Mar, ice cream, ice cream, school, hanging out and stuff, a'cappella auditions, school, work, a bit of drunken partying, school, school, ice cream, a'cappella call backs, school, work, party, party and...now...today!
So. As you can see...I've been very busy. But I don't want to forget about this blog! It's important to me to be yet another aspiring DIY Blog-Goddess, and I can only achieve such title by blogging about my DIY projects and such. And other things you might not care about (ie: chemistry, losing my laundry card, a washed bean, etc.).
I'm going to try really hard to get one post done a week, most likely, sometime on the weekend. I'm aiming for anywhere between Friday night and Sunday, but most likely it will be on Sunday, so if you are one of the few, great people who is all "Yeah! Blog! DIY! Pie! Plants! Periodic Table of Elements!" then you should come back each Sundayish and look for a posty-post!
Also! If there is something you want to see done or baked or whatever, I might be able to do that. Leave a comment, send me a messenger pigeon, if you know me well enough, come over and talk to me to my face and I'll see what I can do.
And another thing..look out for these two in my posts. Why? Because they're awesome and I live with them:
Courtney. Aka: Meowface
Where have I seen here before?: In my post about
painting pots!
What?: She's a super fly, super shy (not so much anymore), powerful woman of our age!
Does she do things?: Environmental Studies/Art major! Also working on a Zine and taking a yoga class with Cedar.
Favorite DIY project ever done: Making a book! But not writing in it. The cover especially.
What she wants you to know about her: She doesn't like talking about herself because she says she's not good at interviews. (A small prying later...) She don't know...fine. She's allergic to deer.
Cedar. Aka: Badass.
Where have I seem him before?: The
banana ice cream morning post!
What?: Keeping it real, eating popcorn with nooch and always out on an adventure.
Does he do things? Art major and a certified Wilderness First Responder (almost)! Works at the Rec, leads adventure outings, and takes yoga with Courtney!
Favorite DIY project ever done: He wants to know if drawing a life sized self portrait on a door counts. I say yes.
What he wants you to know about him: He likes to sketch boobs. (We have proof of this taped up on our wall in the kitchen)
And that's all you need to know about them..for now!
I'm going to give you your DIY project and leave you in peace till next Sunday! Ish!
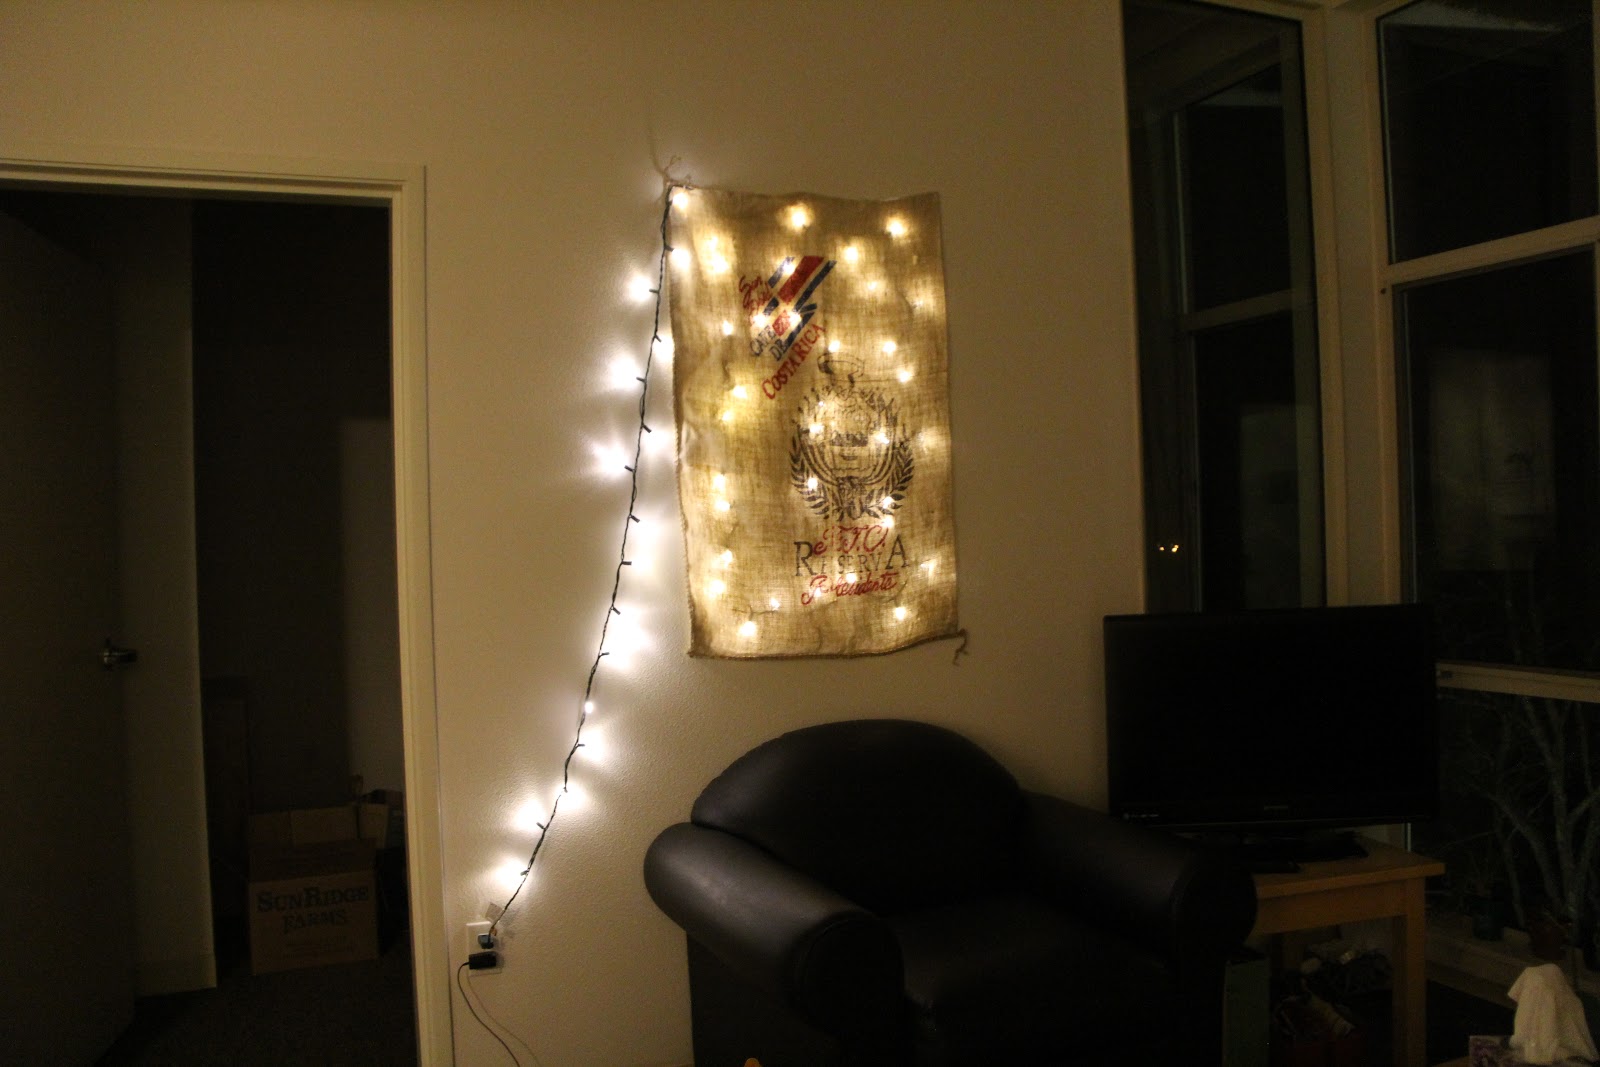
DIY Coffee Sack Light!
Need:
-Twinkle lights
-Thumbtacks (about 6)
-thin wire or floss or embroidery thread
-a plastic needle or like, a regular needle or whatever
-a coffee sack (duh.)
-scissors or wire cutters or knife object
-This project takes approximately 2/3 of "Tiger Milk" by Belle and Sebastian.
Steps
Gather materials. Like..the coffee sack and twinkle lights. I got my coffee sack from my dad, who is a chef, and buys large amounts of coffee. If you don't have a parent who buys coffee in sack form, check your local coffee shop and politely ask them if you can have a coffee sack for your new DIY project that's totally going to tie your living room together. If they won't give you one or don't have one, just steal one from the local Starbucks who's probably upsetting your favorite friendly, hip, coffee shop anyways.
I got my lights from my garage. You can check a thrift store or wait until Christmas is near and people have decorated their houses with twinkle lights and take some from your super annoying neighbors who never let you have any fun that involves some sort of noise past 8 at night if you don't have any.
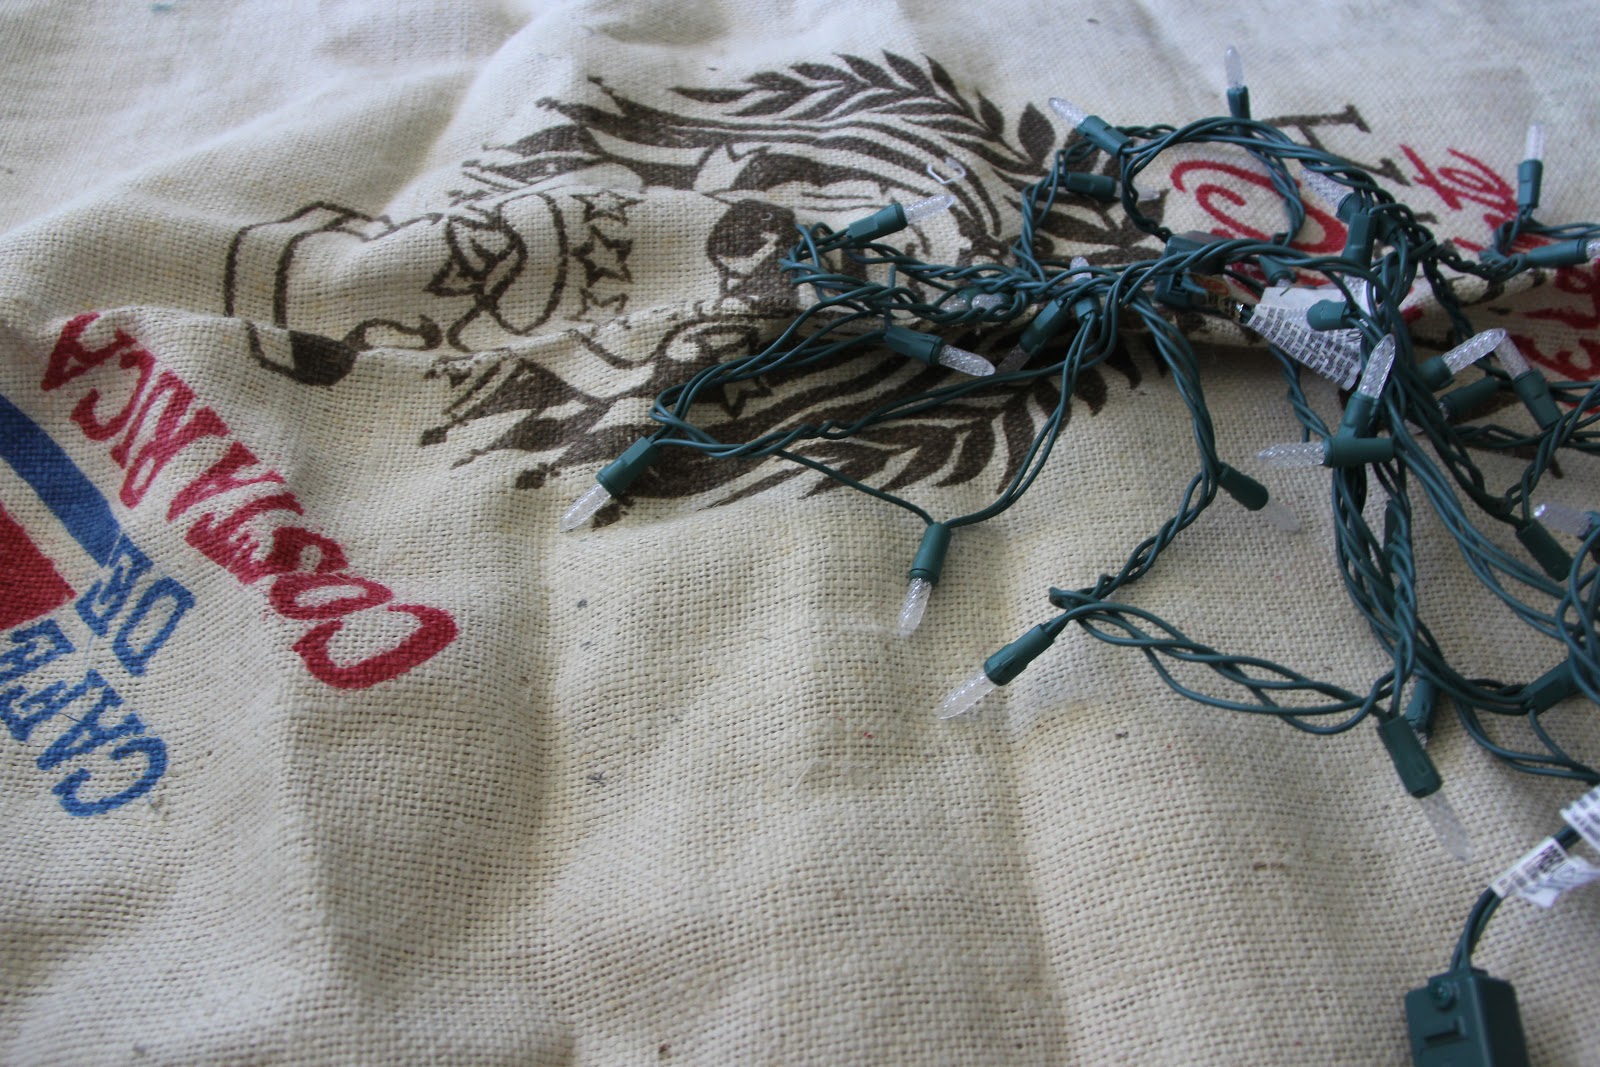
 |
| Arranged. |
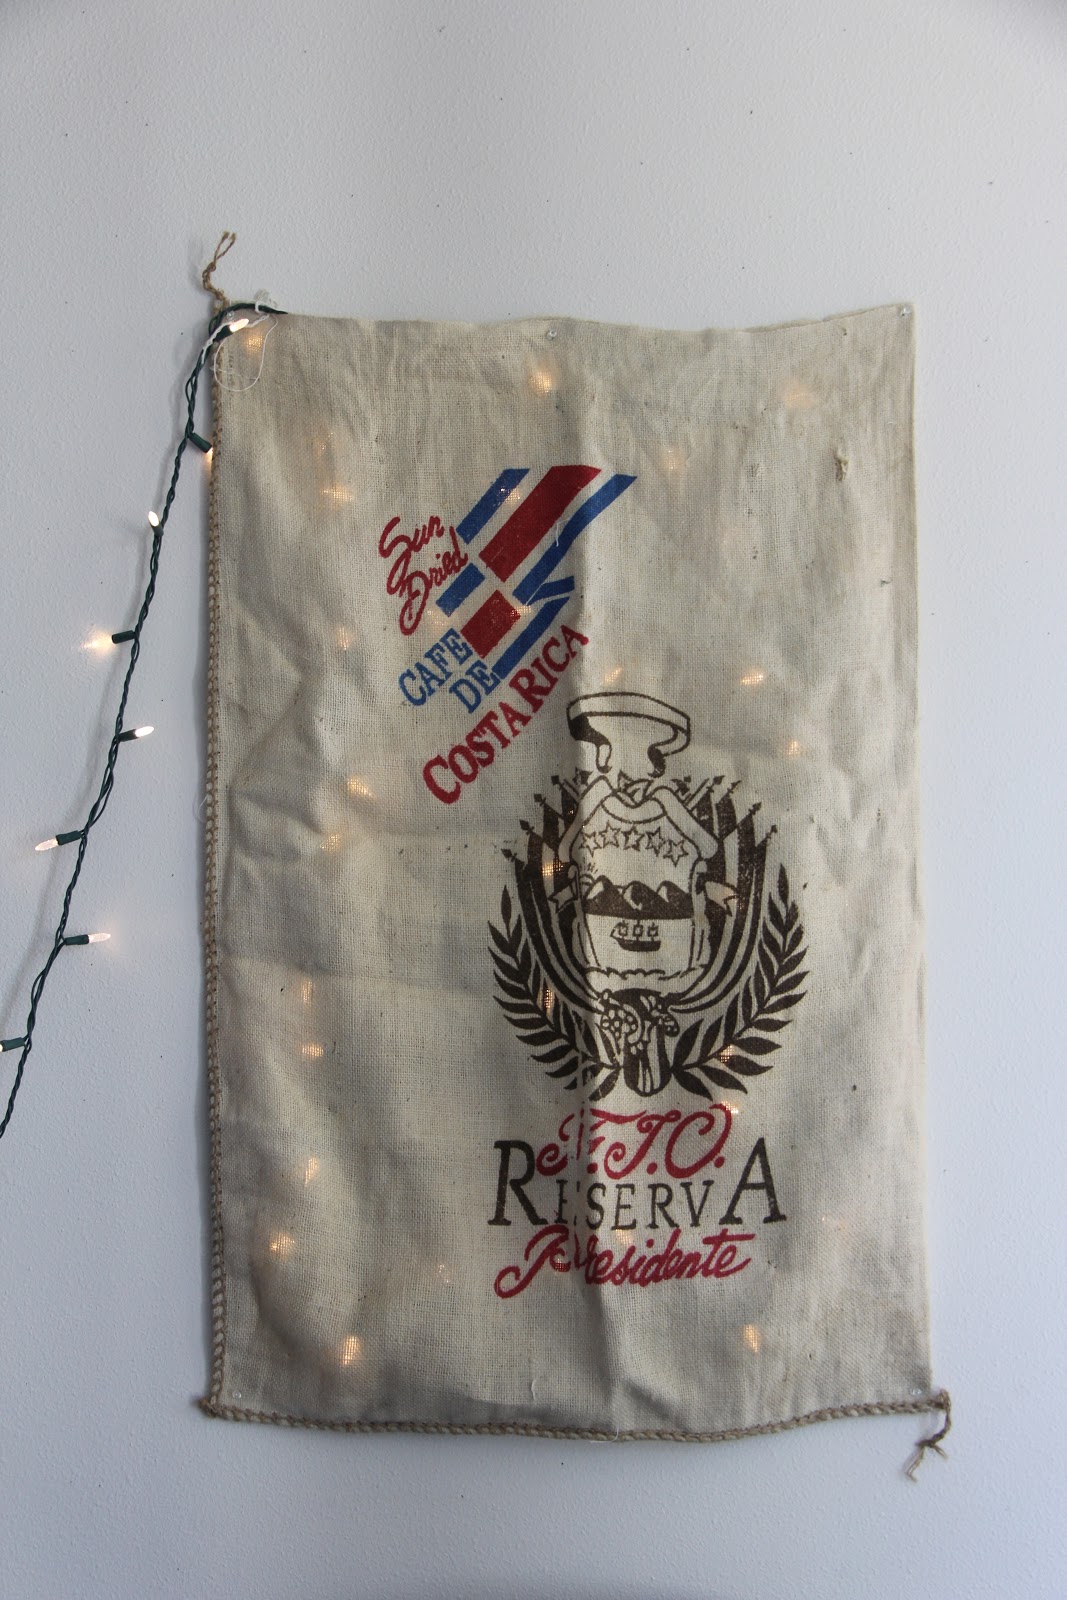
After gathering your materials, start the making light process. Turn the coffee sack inside out with the design
facing towards you. As shown in this picture.
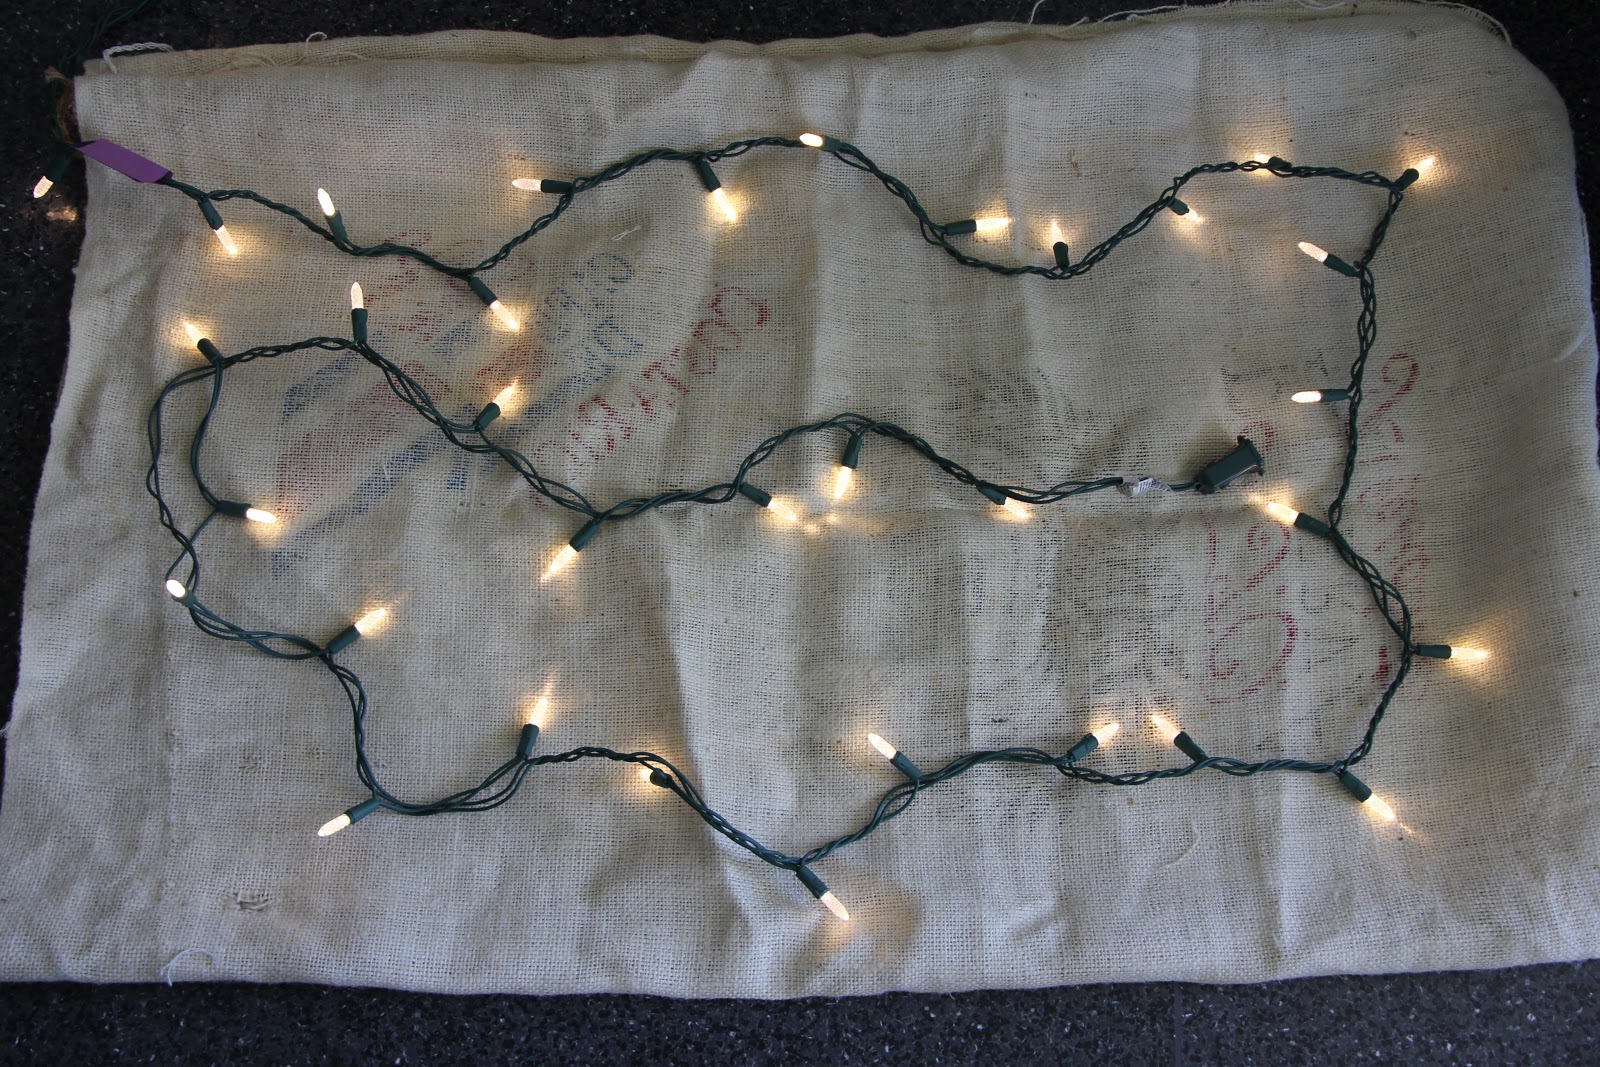
Then, take the lights and arrange them in an up down like pattern. Or a spiral. Or in a clump. I don't care. These aren't really steps, they're more guidelines anyways. The purple post it note is where I needed to stop placing lights in the coffee sack so my cord would stretch to the outlet. You could also do this project with an extension cord or cut a hole in the bottom of the sack so your lights come out that way and none are on the wall. But, I don't have an extension cord, I have lights. And I didn't poke a hole in the bottom of my sack, so whatever. I'm thinking of making little "coffee beans" to go over my dangling strand from the sack because that's cheaper than buying an extension cord. Maybe. Whatever. Guidelines, people. Guidelines.

After arranging, take your wire or thread or whatever and your needle and thread around the strand in certain areas to hold the lights in place so that when you hang up your beautiful work of art, the lights don't all sink to the bottom, unless, of course, you want it that way. I'm not your mom, do what you want. But for the LOVE of GOD, do NOT DO THIS:
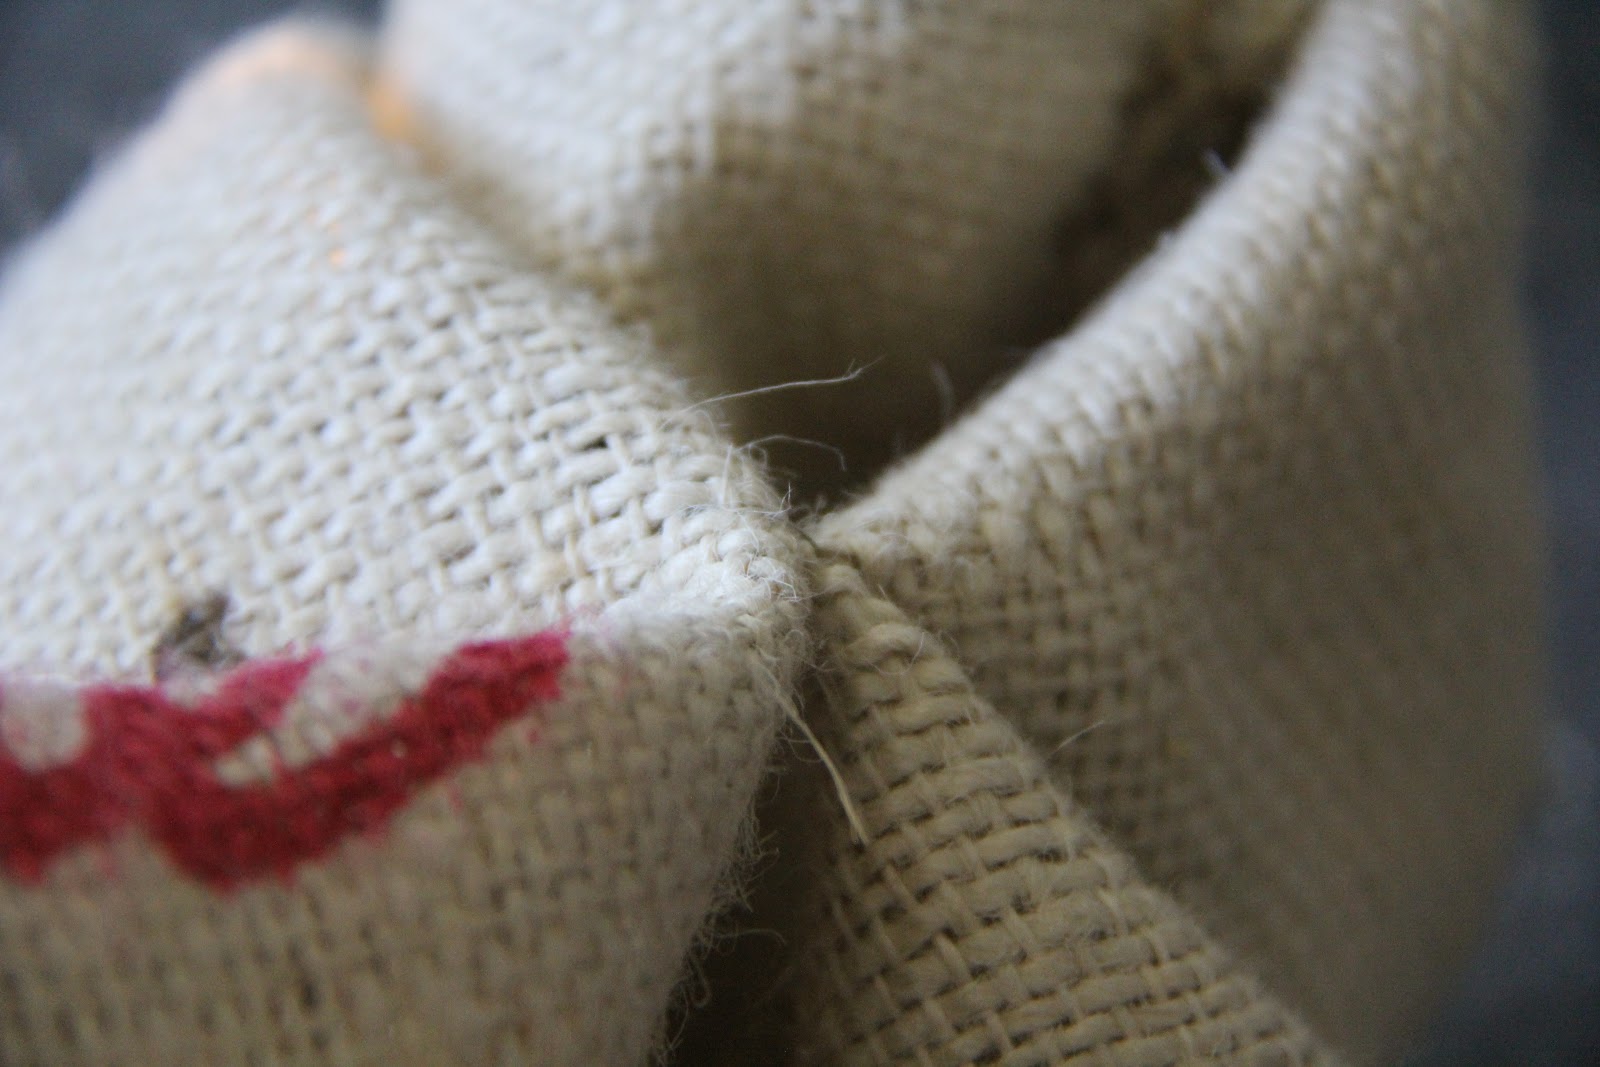 |
| Save yourself! |
This can be avoided by not being distracted by Belle and Sebastian and by paying attention and not sewing through both pieces sack fabric so that when you go to inside out it, it doesn't because, surprise! You sewed both pieces of sack fabric together!
After that, Hang that sucker up with thumbtacks or earring posts or whatever pointy objects you've got.
 |
| Ohmyglob it's so pretty! |
That's it. Pretty easy. Doesn't take too long. Looks cool in a college apartment. Or anywhere. I mean, let's be real here.
 |
| Another picture with different exposure. Yeah. Whatever dude. |
Happy Sunday. See you next week with something else. I guess.
Love,
Neffie